▶ 준비물
a. IIS or APMSetup or Autoset (※개인적으로 APMSetup이...)
b. 맨티스
▶ 방법
a. IIS or APMSetup or Autoset 설치
- 설치 방법 생략...
- 맨티스에서 사용할 DB 계정 생성
b. 맨티스 설치
- 맨티스 다운로드 ☞ http://www.mantisbt.org/download.php
- 맨티스 압축풀기
- 폴더명을 편의를 위해서 'mantis'로 수정
- APM_Setup\htdocs에 mantis폴더 복사 (※IIS, Autoset은 root폴더로~)
- 옵션 설정
1. mantis\config_inc.php 수정 (※config_default_inc.php에 직접 수정 가능)
[ DB 설정 ]
$g_hostname = 'localhost'; // DB 주소(예 : 192.168.0.1 : 10000)
$g_db_username = 'root'; // DB 계정
$g_db_password = ''; // DB 패스워드
$g_db_type = 'mysql'; // DB 종류
[ Mail 설정 ]
$g_phpMailer_method = 2; // 메일 타입 (2 - SMTP)
$g_smtp_host = 'localhost'; // 메일 호스트
$g_smtp_username = 'id'; // 메일 계정
$g_smtp_password = 'pw'; // 메일 패스워드
[ 언어 설정 ]
$g_default_language = 'korean';
※ 만약 메일이 발송되지 않는다면 config_default_inc.php를 직접 수정
- Mantis Email Settings 부분을 꼼꼼히 수정
2. mantis 실행
ㄱ. http://localhost/mantis/admin/ 주소로~ (옵션 체크)
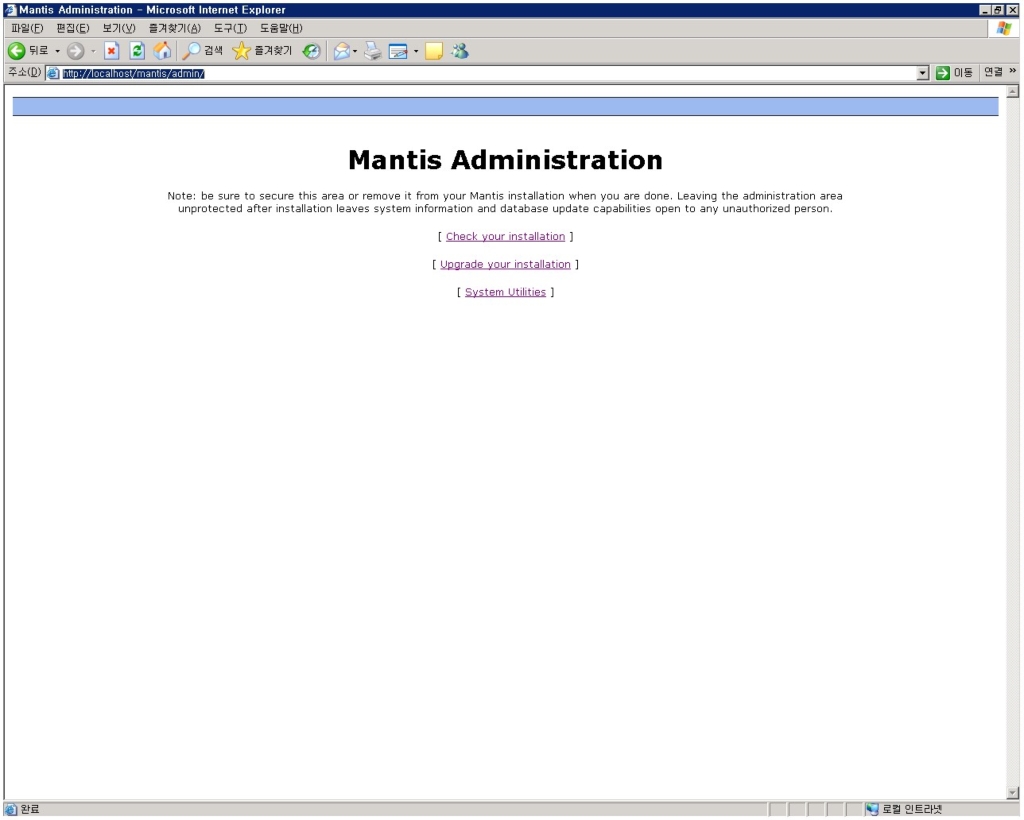
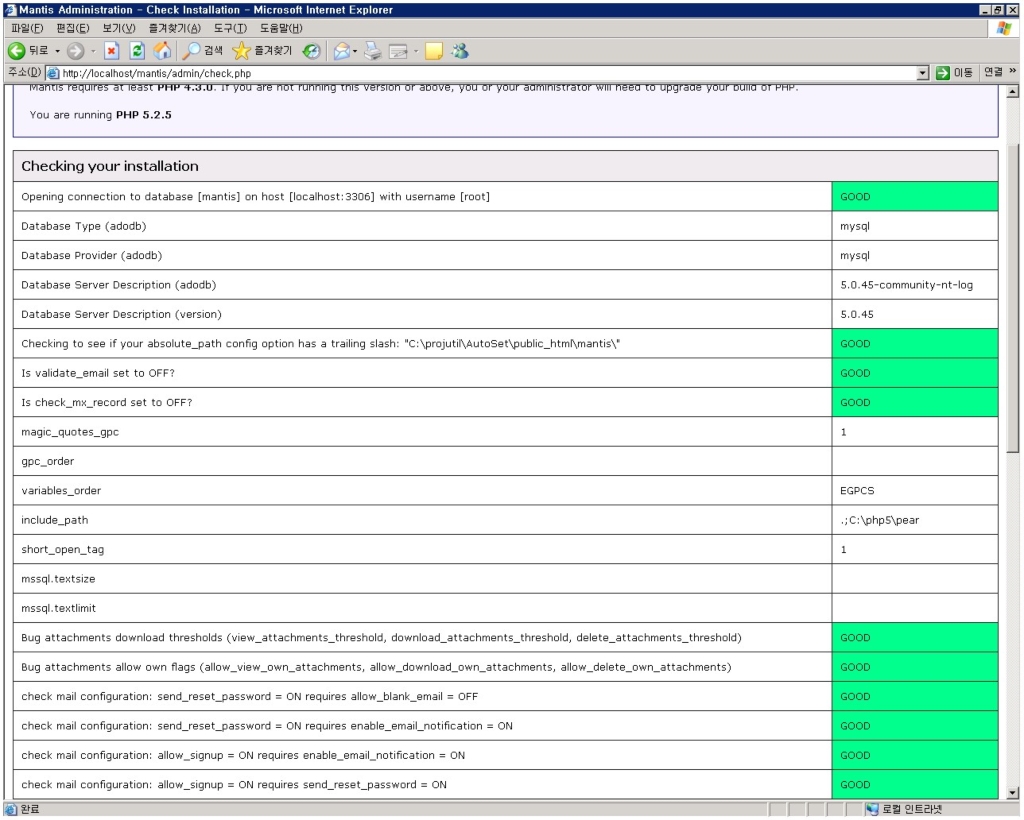
모두 'GOOD'~ 성공!!!
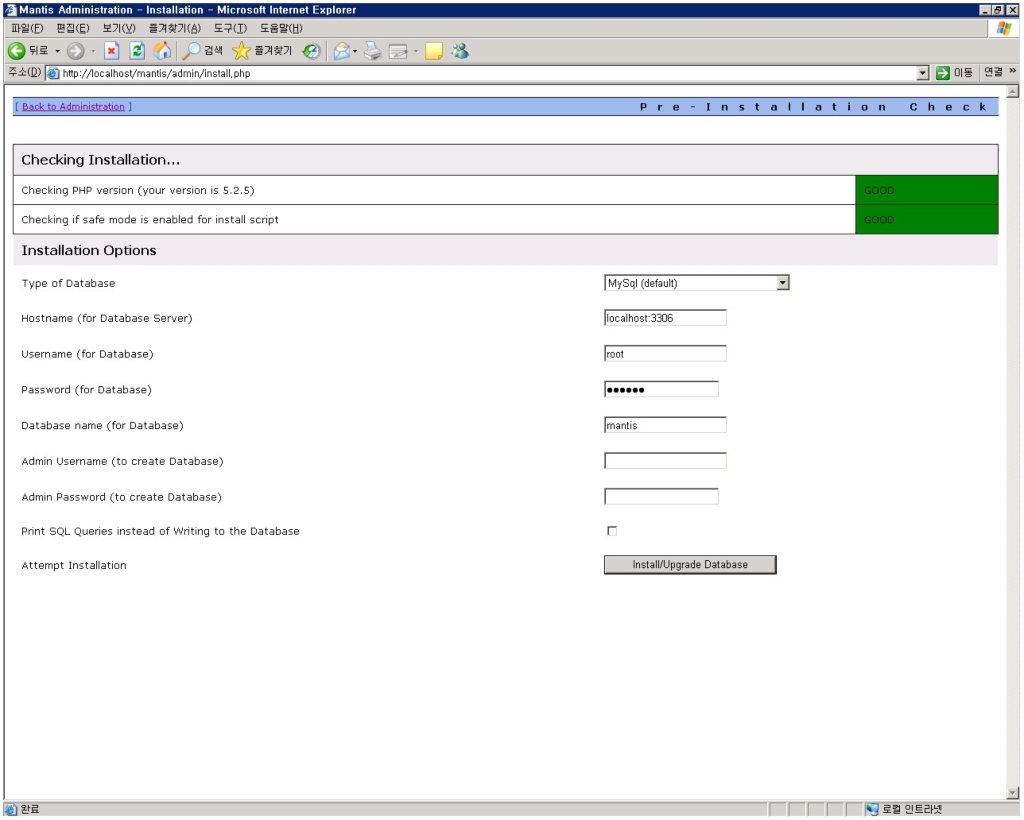
ㄷ. http://localhost/mantis/admin/install.php 주소로~ (DB 생성)
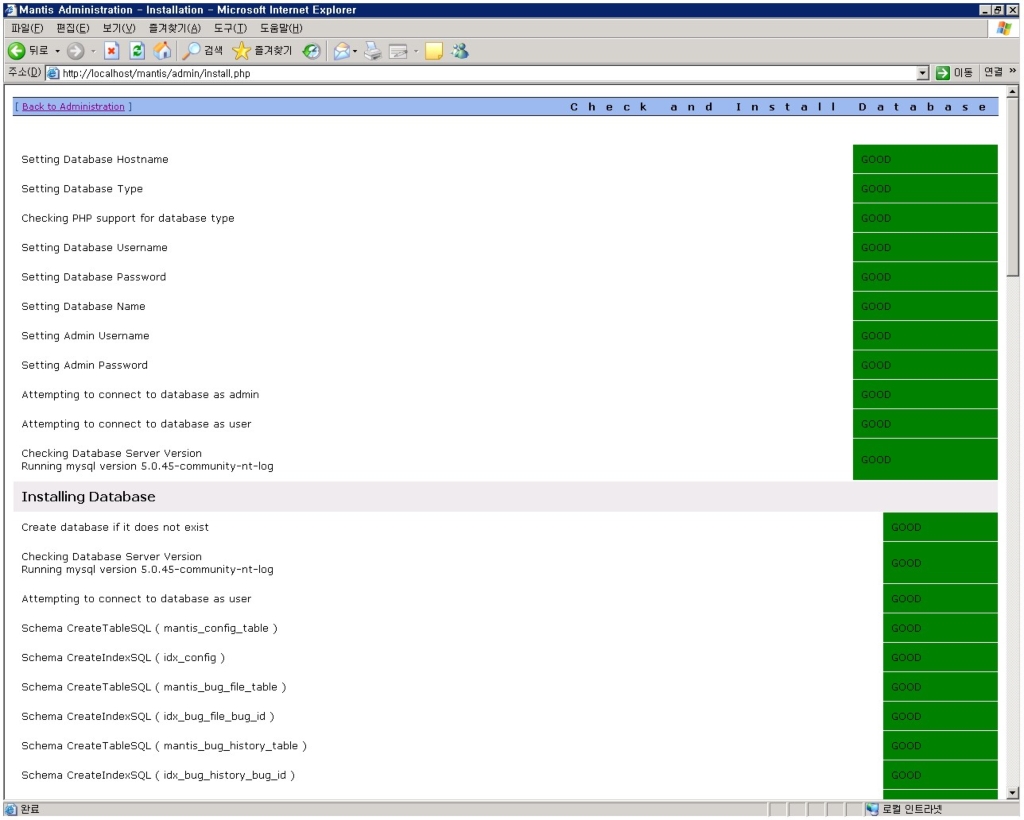
모두 'GOOD'~ 성공!!!
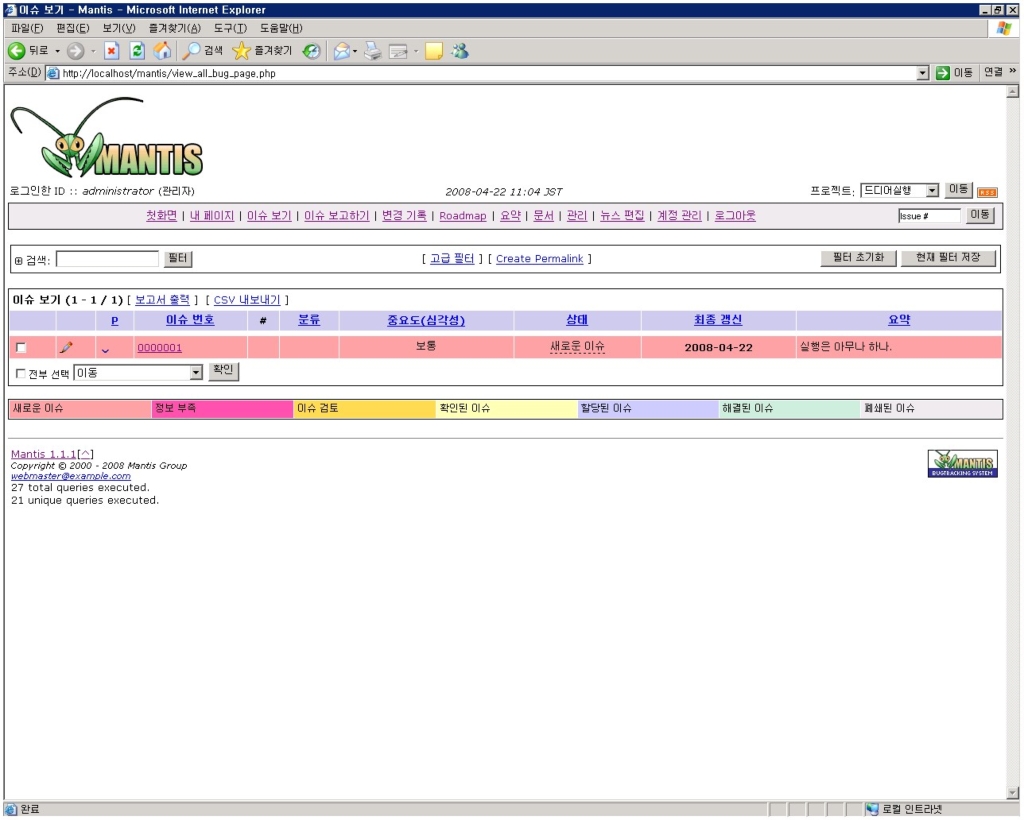
ㄷ. http://localhost/mantis/ 주소로~ (※디폴트는 administrator / root)
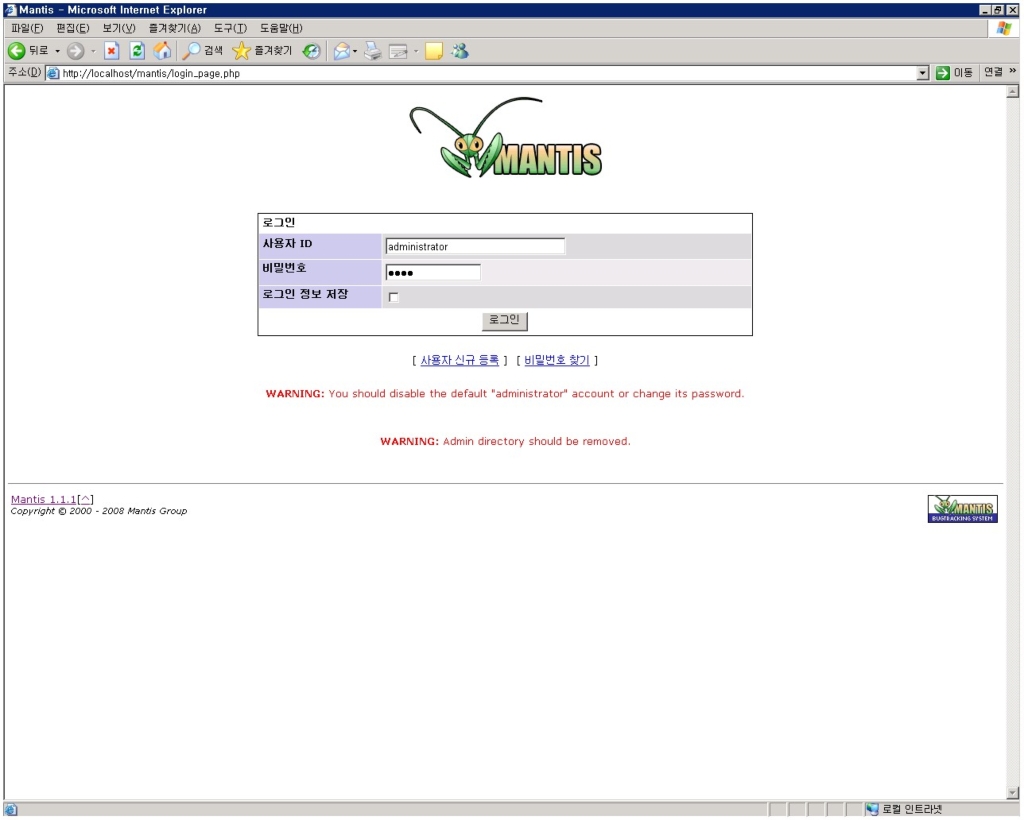
- 이슈 리스트 화면
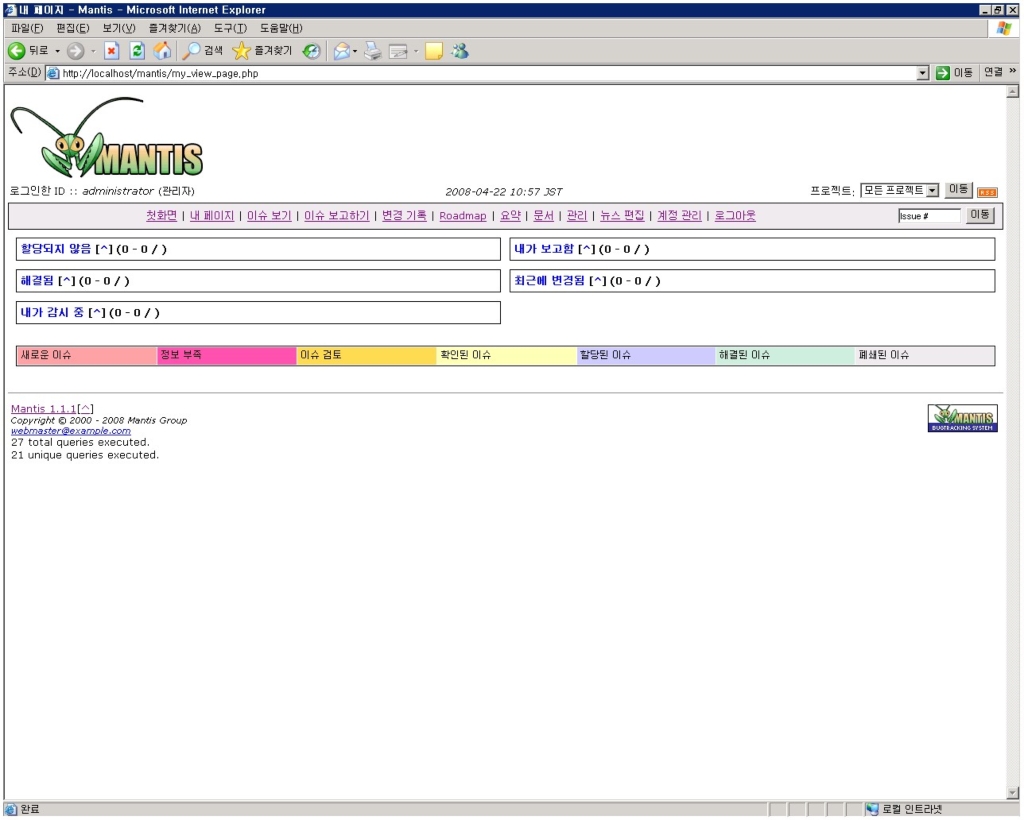
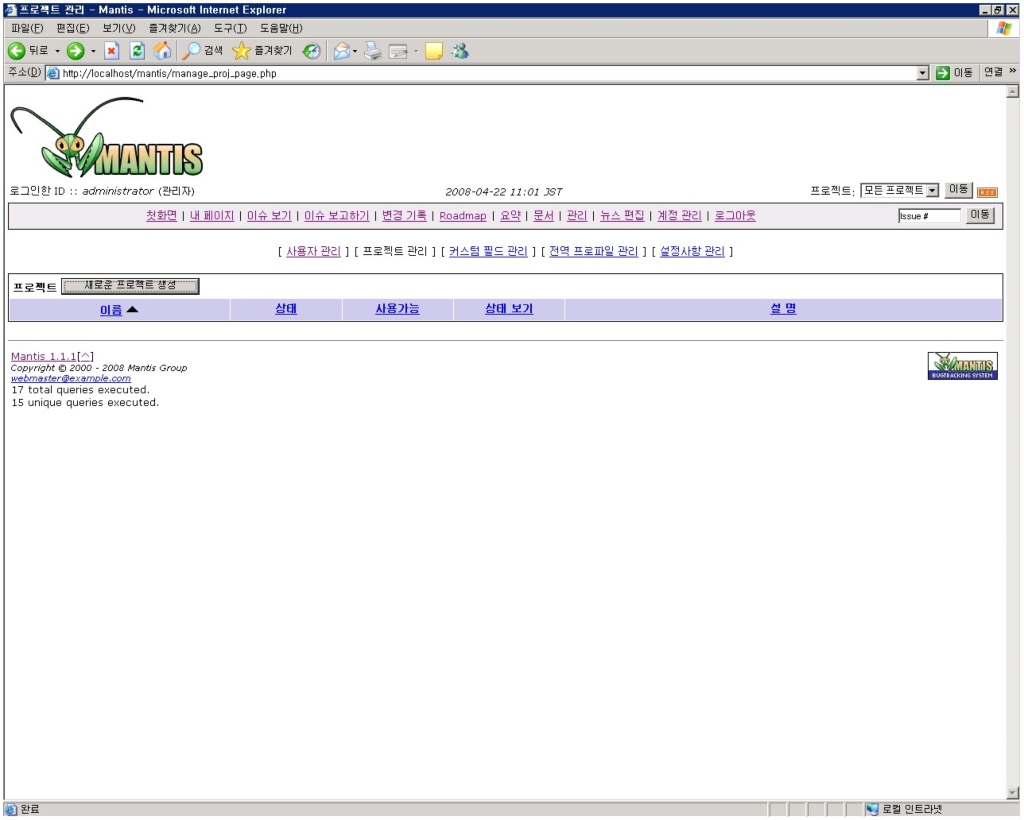
- 프로젝트 등록 화면
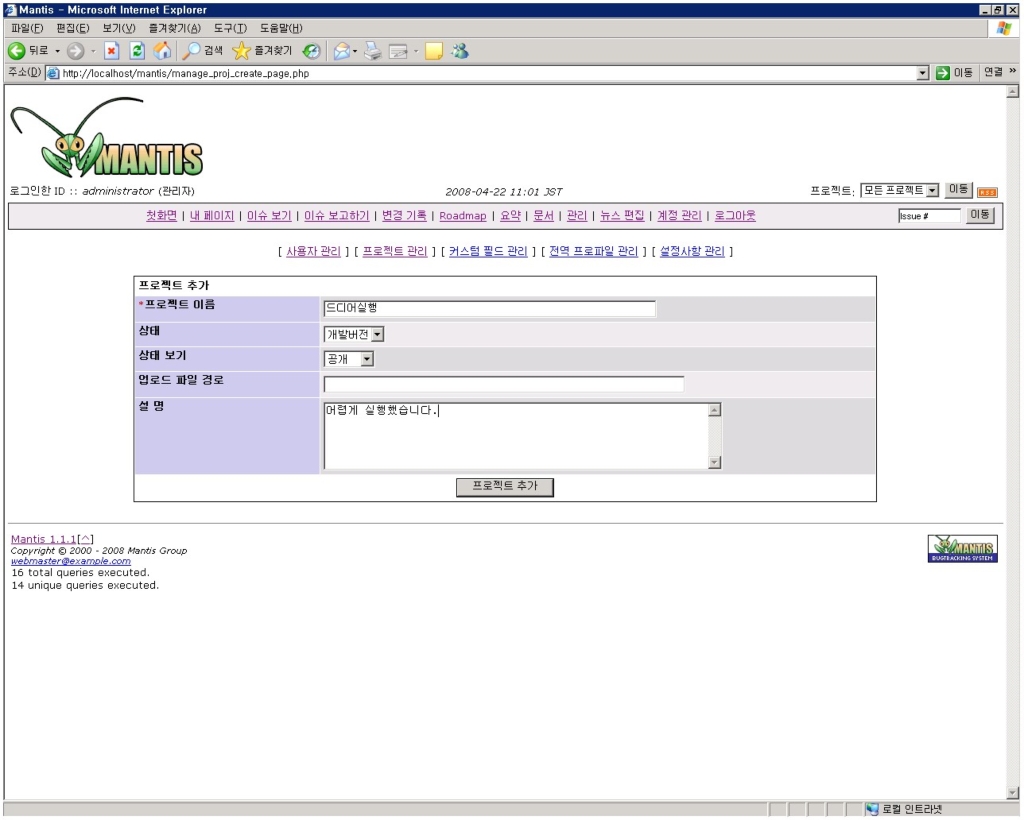
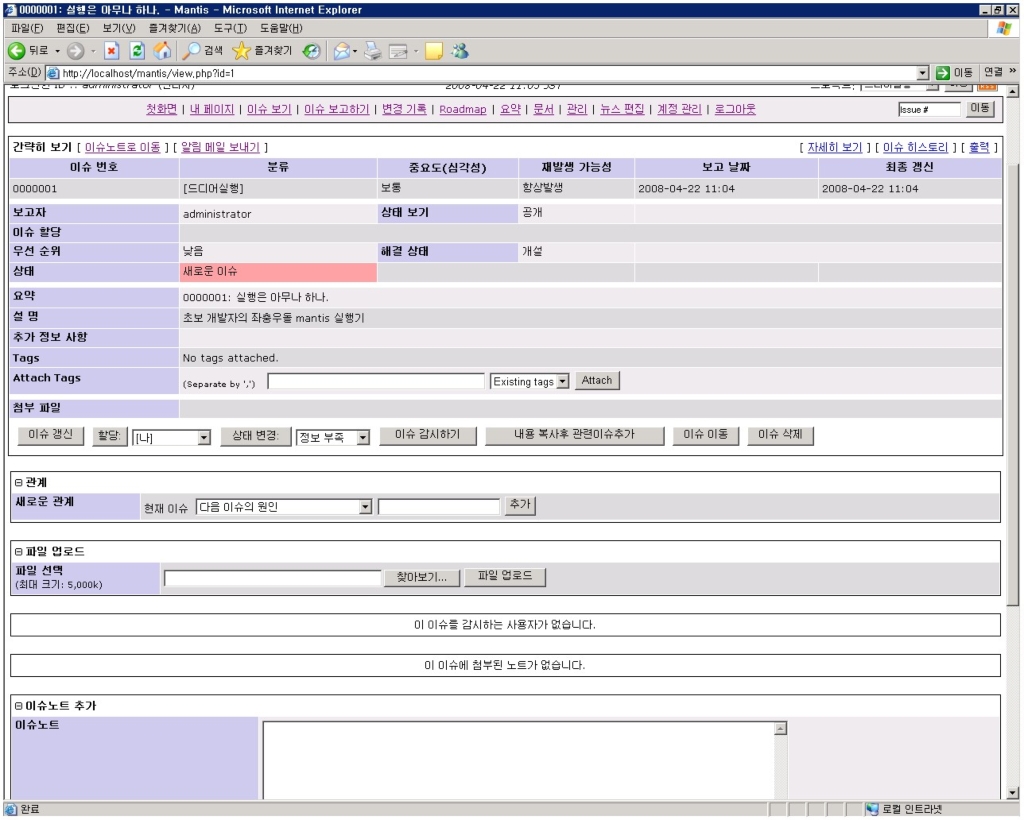
- 이슈 등록 화면

http://blog.daum.net/z-dream/17280552?srchid=BR1http%3A%2F%2Fblog.daum.net%2Fz-dream%2F17280552
